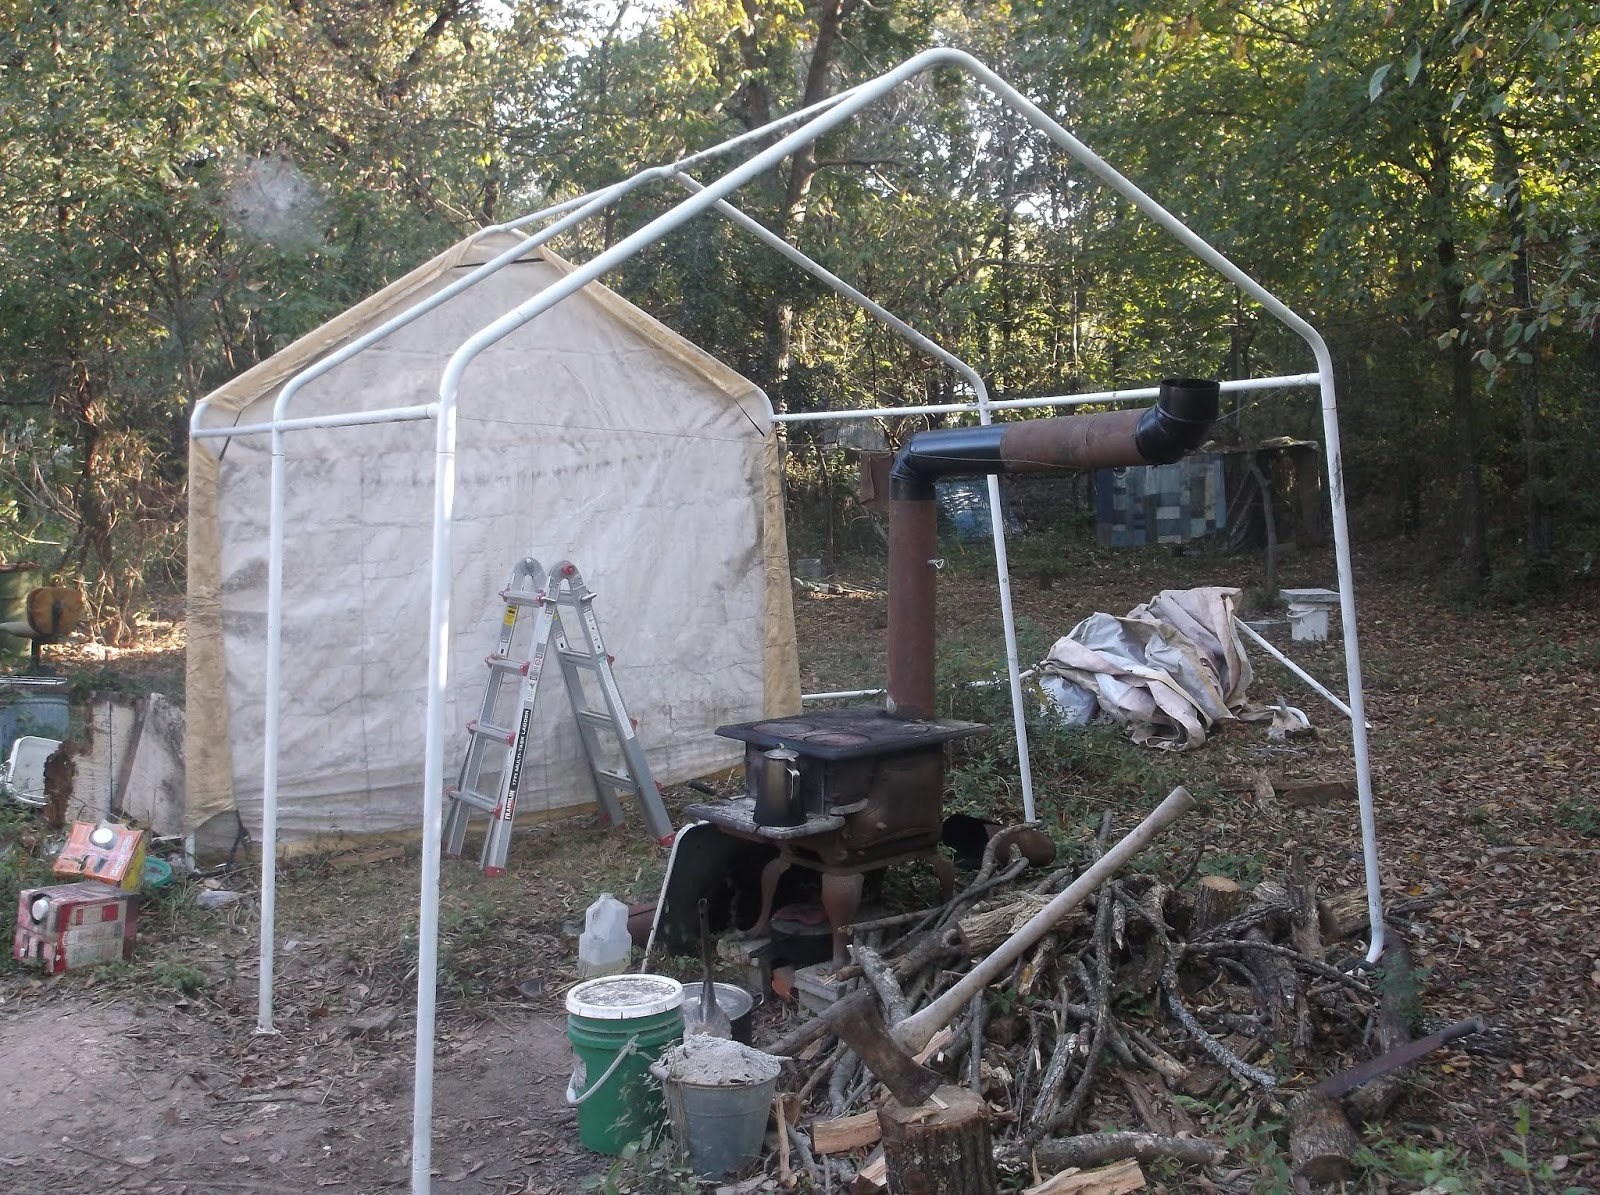
Heavy usage in the past, bad storage, high humidity and the ravages of time (this stove is close to 100 years old), took such a toll on the oven rack that it is practically in pieces. Finding a new one is out of the question, as is the hope of finding one of similar size. Consequently, I have been thinking for awhile of how to make a new or repurposed one so I can use the oven.

Recently, while walking past the old chicken yard, as I do several times each day, the gate caught my eye. It is made of an end piece
 of heavy livestock panel with 2 inch by 4 inch spacing. My mind instantly shifted to baking.
 With measurements in hand, and a few minutes with a good bolt cutter, I had the makings in hand. I cut the section of panel to width and added 4 inches to the length. The added length to be bent down to make legs.
 Using fence pliers to make the bends, and a block of wood for stability, I proceeded to make the bend, one rod at a time, little by little, first one then another, until the extra 2 inches on each end were at a 90 degree angle. This part took a little time of working back and forth, and this stuff is not easy to bend.
  Fortunately, my hands are large and pretty strong, otherwise I would have had to resort to other tools with more leverage or possibly heating the rods with a torch. Either of those options would have taken more time and been a bit more of a hassle, but still quite workable.
As it is, in a relatively short time, I had something resembling an oven rack that would set on a flat surface and have 2 inches elevation. With a few minor adjustments, it slid nicely into the oven.
As you can see from the last photo, the supports for the original rack are higher than the new rack. Not a problem. This oven always had a problem with cooking on the bottom. Everything
would be beautifully baked on top, but not quite done on the bottom. It was something my Grandmother contended with the whole time she used it. I deliberately lowered the new rack to try and compensate and to make more room above for taller cookware.
With the new rack in place (this was done in early morning, before work) I could hardly wait for evening to try it out. Biscuits are always a nice test, and the anticipation practically had me drooling all day. With evening came the test batch, the first baking in this oven in a very long time and the first ever on the new rack. The biscuits turned out pretty well. Pictures of the biscuits would have been nice, but they smelled so good that I forgot to take pictures. Maybe next time.
Lowering the rack did not fix the challenge of browning on the bottom, as I suspected, but setting the pan on top of the stove for a few minutes took care of the problem. In all fairness to the little stove, not cooking at the bottom is not a design flaw. I had noticed when I was setting up the stove that the little lever on the side looked a little off. A closer look showed that the piece that is supposed to shift the heat flow underneath the oven had been put on the lever backwards when the stove was originally assembled, making it impossible for it to shift the heat flow. At some later time, when I take it apart to replace the bolts, I will try to change that, but for now, a few minutes on the stovetop to finish the cooking is not a real inconvenience.
------UPDATE------

Yes, it is a bit large. Normally, I would have made two braded loaves with that much dough and baked them on a cookie sheet, but it seems that my cookie sheet has disappeared or been misplaced during the past couple of years. A cake pan makes an unusual size loaf but it works.
Now, with a cook shelter and usable oven, I will be back to baking most of my bread.